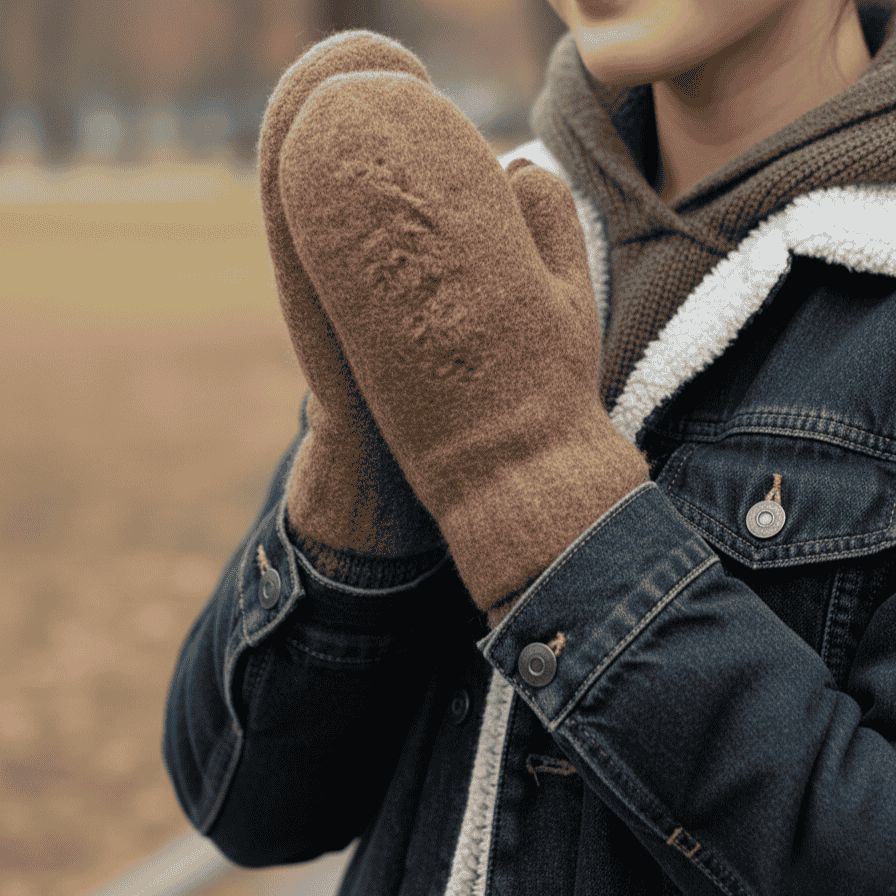
Free Felted Mittens Knitting Pattern: Warm, Cozy Winter Mittens
Looking for a warm and durable winter accessory? These felted mittens are the perfect knitting project for creating thick, weather-resistant mittens that will keep your hands cozy all season long. This free knitting pattern includes three sizes and complete felting instructions.
What Are Felted Mittens?
Felted mittens (also called fulled mittens) are knitted mittens that are intentionally shrunk in the washing machine to create a dense, wind-resistant fabric. The felting process makes the knitted fabric tighter and warmer, perfect for cold winter weather.
Pattern Overview
Skill Level: Intermediate
Technique: Knitting in the round
Sizes Available: S/M, M/L, L/XL
Final Length: 9″ to 10⅝” (23-26.5 cm) after felting
What You’ll Need
Yarn:
- DROPS Nepal (Yarn Group C)
- 150-200g in color 8917 Walnut (or your preferred color)
- Note: You need a wool yarn that felts well
Needles:
- US 9 (5.5mm) double pointed needles
Notions:
- Stitch markers
- Stitch holders or waste yarn
- Tapestry needle
Gauge
Before Felting:
- 16 stitches × 21 rows = 4″ × 4″ (10 × 10 cm) in stockinette stitch
After Felting:
- 21 stitches × 30 rows = 4″ × 4″ (10 × 10 cm) in stockinette stitch
Important: Always check your gauge! Adjust needle size if needed.
Complete Knitting Instructions
Left Mitten
Cuff:
- Cast on 48-48-54 stitches with US 9 double pointed needles
- Work in the round: Knit 3 twisted, purl 3 for 3 cm (1⅛”)
- Decrease round: Knit 1 twisted, knit 2 twisted together, purl 3 = 40-40-45 stitches
- Continue in rib: Knit 2 twisted, purl 3 until piece measures 7-8-8 cm (2¾”-3⅛”-3⅛”)
Thumb Gusset:
- Place marker in last stitch of round (this is your thumb stitch)
- Knit 1 round, increasing 4-6-3 stitches evenly = 44-46-48 stitches
- Work in stockinette stitch
- Increase 1 stitch on each side of marker every 3rd round, 5-6-7 times total = 54-58-62 stitches
Tip for Thumb Increases: Make a yarn over on each side of the marker stitch and knit it twisted on the next round. Work subsequent increases outside the earlier increases.
Hand Section:
- Continue until piece measures 15-17-18 cm (6″-6¾”-7″) from cast-on
- Place 13-15-17 thumb stitches (marker stitch + 10-12-14 increased stitches + 1 stitch on each side) on stitch holder
- Cast on 3 stitches over thumb gap = 44-46-48 stitches
- Work in stockinette until piece measures 13-13-13.5 cm (5⅛”-5⅛”-5⅜”) from cast-on stitches above thumb
Top Shaping:
- Place markers: 1st stitch and 23rd-24th-25th stitch (21-22-23 stitches between markers on top and bottom)
- Decrease round: Work 3 stitches before marker, k2tog, k3 (marker in center), slip 1 knitwise, k1, psso (4 stitches decreased)
- Repeat decreases every 2nd round 3 times, then every round 5-6-6 times = 12-10-12 stitches
- Next round: K2tog all around = 6-5-6 stitches
- Cut yarn, thread through remaining stitches, pull tight and weave in
Thumb:
- Place 13-15-17 held stitches on needles
- Pick up 3 stitches from cast-on edge above thumb = 16-18-20 stitches
- Work stockinette in the round for 8-8.5-9.5 cm (3⅛”-3¼”-3⅝”)
- K2tog all around = 8-9-10 stitches
- Cut yarn, thread through remaining stitches, pull tight and weave in
Right Mitten
Work the same as left mitten, BUT place the thumb marker in the first stitch of the round instead of the last stitch.
How to Felt Your Knitted Mittens
Felting is what transforms your oversized knitted mittens into perfectly sized, dense winter warmers. Here’s how:
Felting Instructions
- Place finished mittens in washing machine with a terry towel (approximately 20″ × 27″)
- Wash at 40°C (104°F) on a 60-90 minute cycle
- Use normal spin cycle, NO pre-wash setting
- After washing, immediately shape mittens while still wet
- Let air dry completely
Troubleshooting Felting
Mittens too big (under-felted)?
- Wash again while still wet using a short cycle
- The wet mittens will felt more quickly the second time
Mittens too small (over-felted)?
- Stretch to correct size while still wet
- If already dry, re-wet them before stretching
Future washes: Once felted, wash as normal wool garments (gentle cycle, cool water, lay flat to dry)

Why Knitters Love This Pattern
This felted mittens pattern is perfect for knitters who want to create practical, long-lasting winter accessories. The felting process creates several benefits:
- Extra warmth: The dense felted fabric traps more heat
- Wind resistance: Felted fabric blocks cold air better than regular knitting
- Durability: Felted items are incredibly strong and long-wearing
- Water resistance: The tight fabric naturally repels moisture
- Professional finish: Felting hides uneven stitches for a polished look
Tips for Success
- Yarn selection matters: Use 100% wool that hasn’t been treated to be “superwash” – superwash wool won’t felt
- Knit loosely: Your gauge should match the pattern before felting
- Check frequently: If attempting felting for the first time, check mittens every 10 minutes during the wash cycle
- Shape immediately: Don’t let mittens dry before shaping – they’ll be stiff and difficult to reshape
- Make a swatch: Consider felting a small test swatch first to see how your yarn behaves
Sizing Guide
| Size | S/M | M/L | L/XL |
|---|---|---|---|
| After felting | 9″ (23 cm) | 9⅞” (25.5 cm) | 10⅝” (26.5 cm) |
| Before felting | 13″ (33 cm) | 13⅞” (35.5 cm) | 14½” (37 cm) |
| Thumb length (after) | 5″ (12.5 cm) | 5⅛” (13 cm) | 5⅜” (13.5 cm) |
Frequently Asked Questions
How long does this pattern take to knit? Most intermediate knitters complete a pair of mittens in 8-12 hours of knitting time, plus felting.
Can I use different yarn? Yes, but choose a feltable wool yarn in a similar weight (worsted/aran). Avoid superwash wool.
Will the color change during felting? Colors may deepen slightly but shouldn’t change dramatically with proper felting.
Can I make these mittens for kids? Yes! Adjust the cast-on stitches and work fewer rounds. Felt until they reach the desired size.
To find more accessories patterns click here